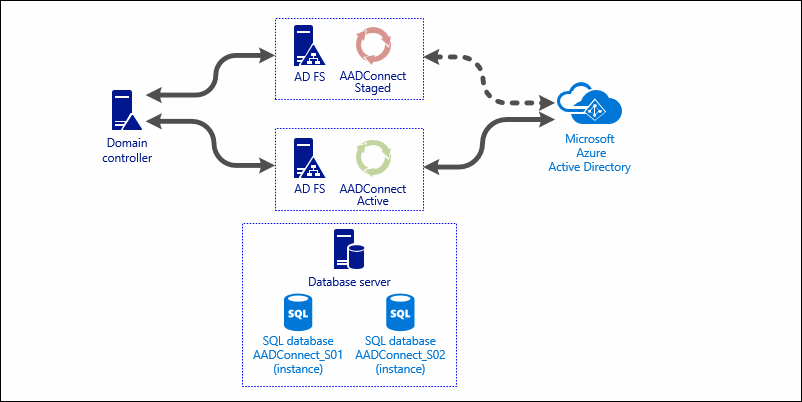
In this post I will show you how to migrate Azure AD connect with SQL and passive/standby (staging)
Migrating Azure AD Connect to another server is quite simple if you follow the following steps :)
Also, I will explain how you can achieve a passive active/standby setup for Azure AD Connect.
Hold up! I already have a AAD Connector running on another machine!
No worries! You can go ahead and follow this guide, just make sure that both new AAD connect instances are kept in a 'staged' configuration (see figure 13) ; they will start syncing with your AD DS and have everything ready. The AAD Connect service will not sync to Azure AD when staged. The only thing that you have to do is shutdown your old AAD connect server (or uninstall AAD Connector software) and immediately 'unstage' your new primary AAD connect service (see figure 16).
Normally when you think about 'migration'; you move something from point A to point B; in this case a SQL Database. But the nice thing about AAD Connect is that is quite static; everything is pulled from your AD DS, and as long as you keep the configuration inline with the old AAD connect service, everything will be fine.
What about a real High Availability setup? Well a HA setup for Azure AD Connect is at this moment not possible; it is not supported to let two Azure AD Connect services communicate with one and the same SQL Database instance.
However, if you are looking for the next best thing, you can achieve almost the 'same' by setting up a second Azure AD connect service and configure it as 'staged'. Only thing is that you must remember to take a manual action if the primary Azure AD Connect servers goes offline for somewhat reason for a certain period of time. Microsoft calls this 'staging'. And if you change some configuration on the primary AADConnect server, you must also make the same change on the staged AADConnect serverMore about staging can be read here.
Also, it is not supported (or at least advised) to have two Azure AD Connect services syncing/exporting to Azure AD. More on this here.
OK enough said; lets go!
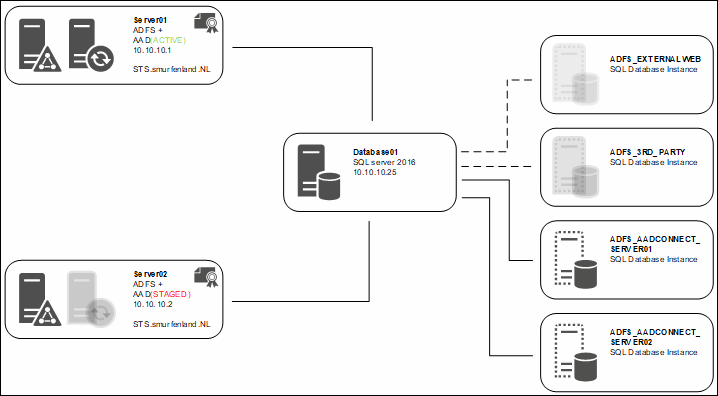
Below you see the setup I will be writing about.
It consists of three Windows 2016 servers; two of them already have a ADFS role, and one is solely for Microsoft SQL 2016. The SQL server has in total 4 database instances running; two of them will be used for Azure AD Connect.
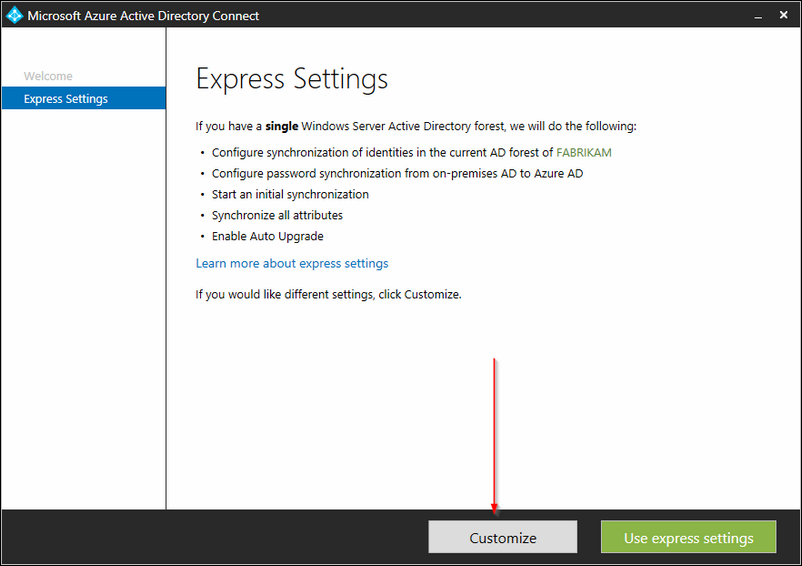
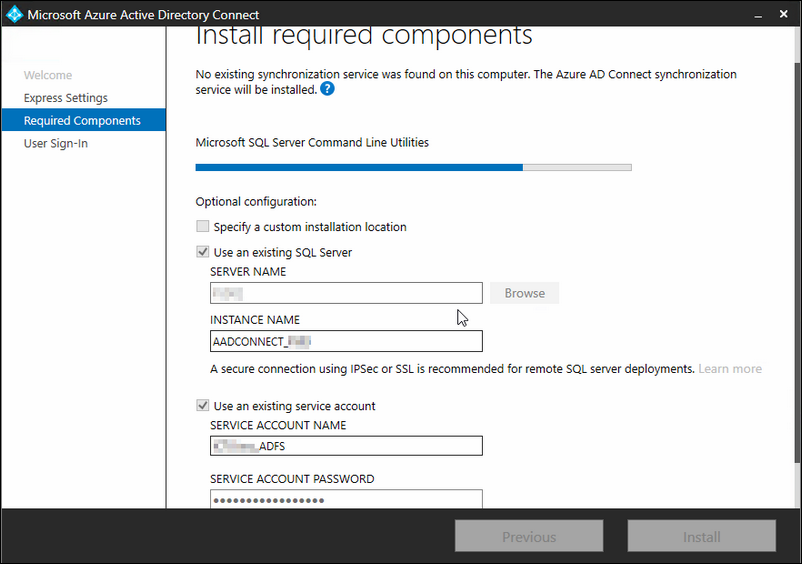
I will be doing a customized install; more in depth information can be found here. For now click on 'Customize'.
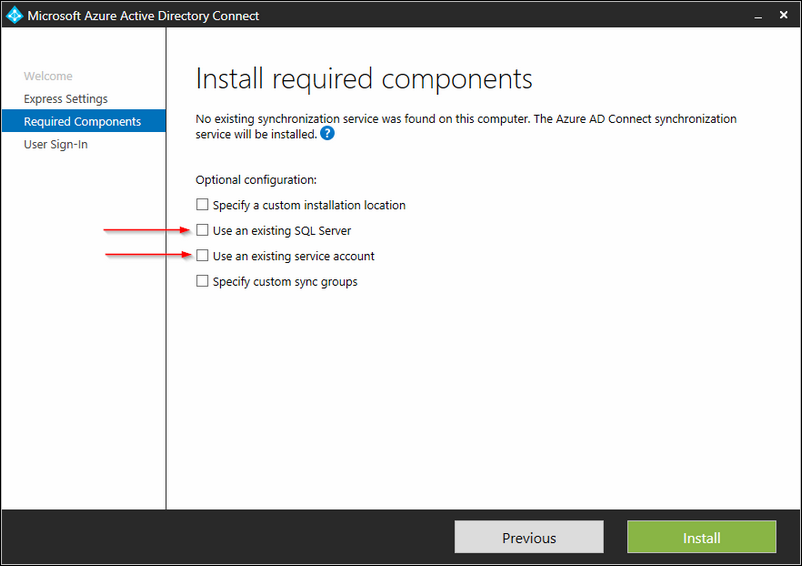
Next select 'use an existing sql server' and 'use an existing service account'
Select the SQL server that will host the SQL database and type in a instance name so that you can identify it later.
Also fill in the service account details; under that account will Azure AD Connect service be running and will be the DBO of the SQL database.
|
|
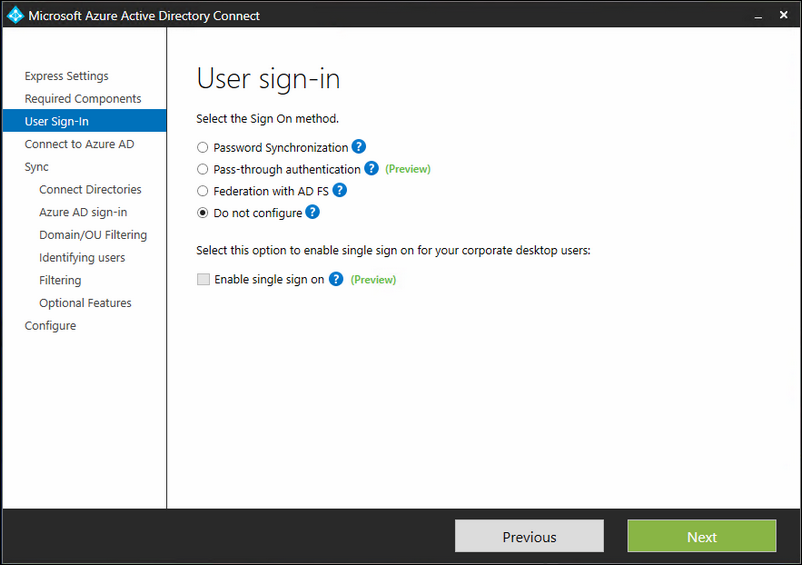
Because we are using ADFS and have already installed it, we are configuring nothing here.
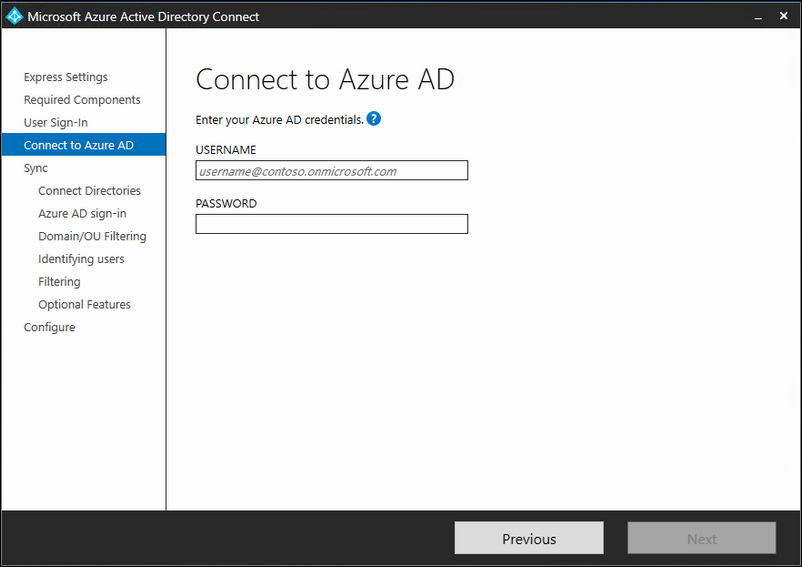
Fill in your Azure Global Administrator account, most of the time '[email protected]' .
If you are using MFA on this account; you will be prompted for this.
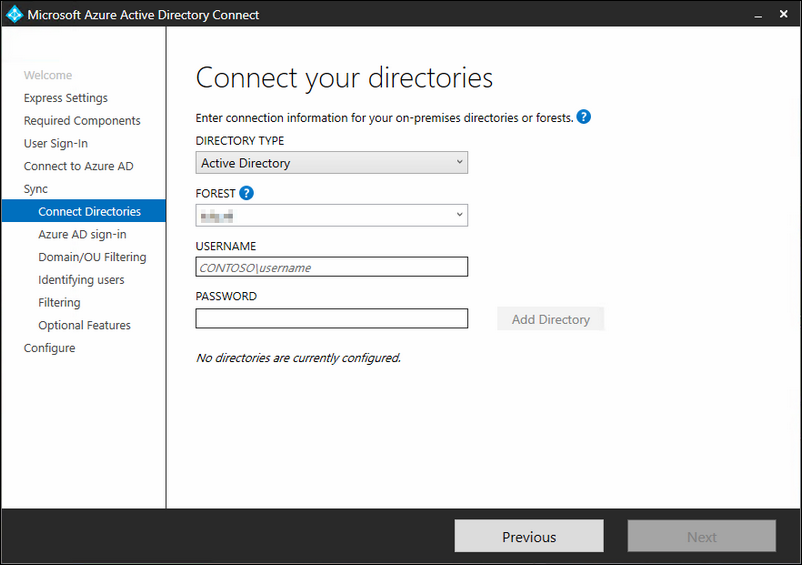
Select Active directory as directory type and select your AD forest that must be synced.
Also fill in the username of you ADFS service account that will be used by the AAD Connect service to connect to the AD DS directories.
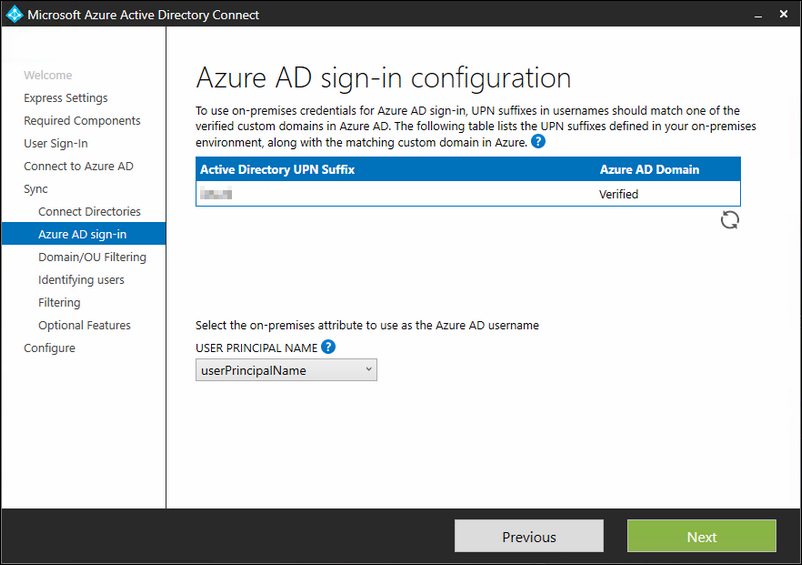
Here you can see which domains are configured for Azure AD and if they are verified. Also you can select the attribute that will be used as Azure AD username; select here 'UserPrincipleName'
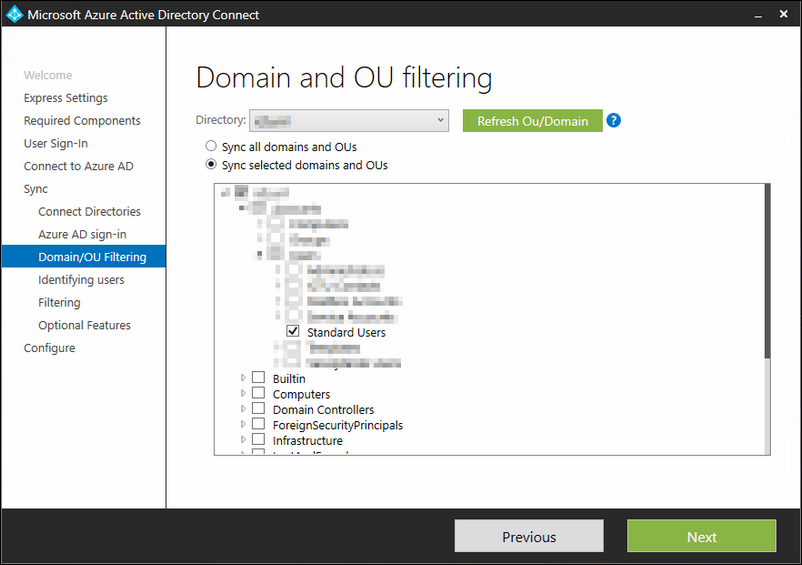
Next select the OU with users that must be synced with Azure AD. Default every account will be synced, but in some cases you don't want this. You can modify it here.
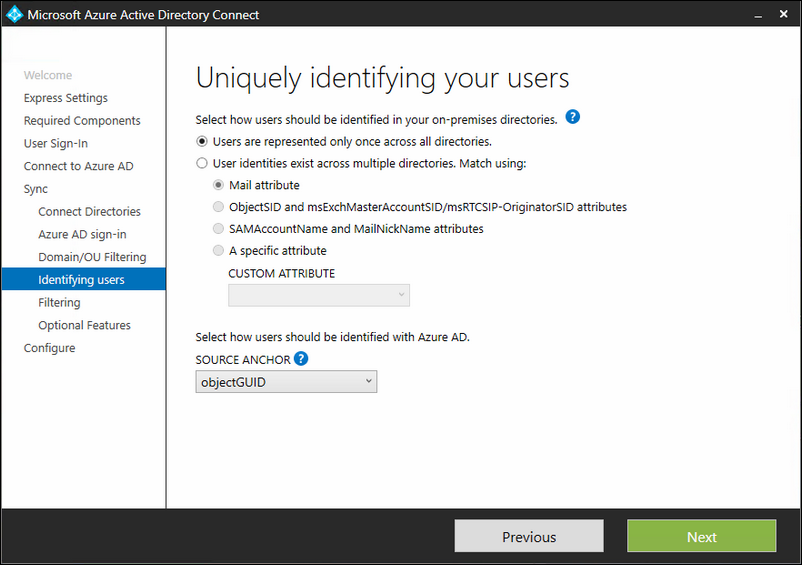
Configure this as displayed; I selected the objectGUID because it doesn't change when you change the name of the user account.
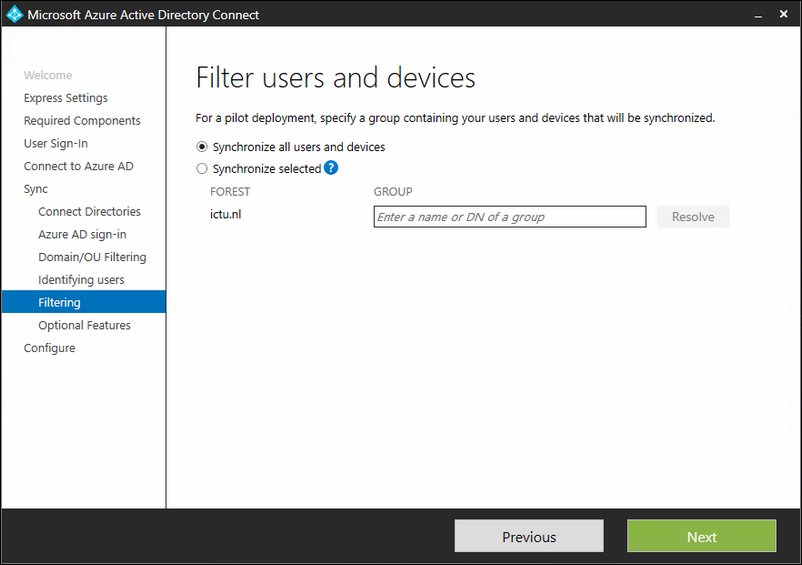
Synchronize all users and devices.
Optional features are left blank.
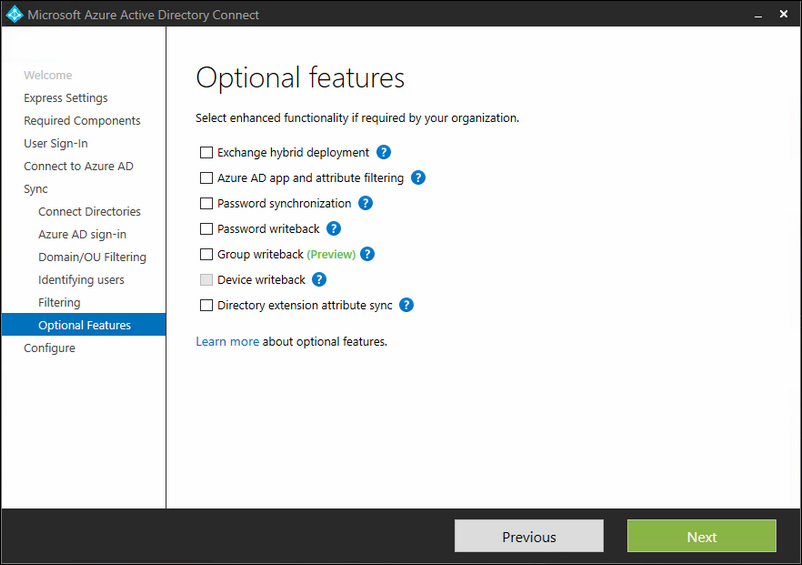
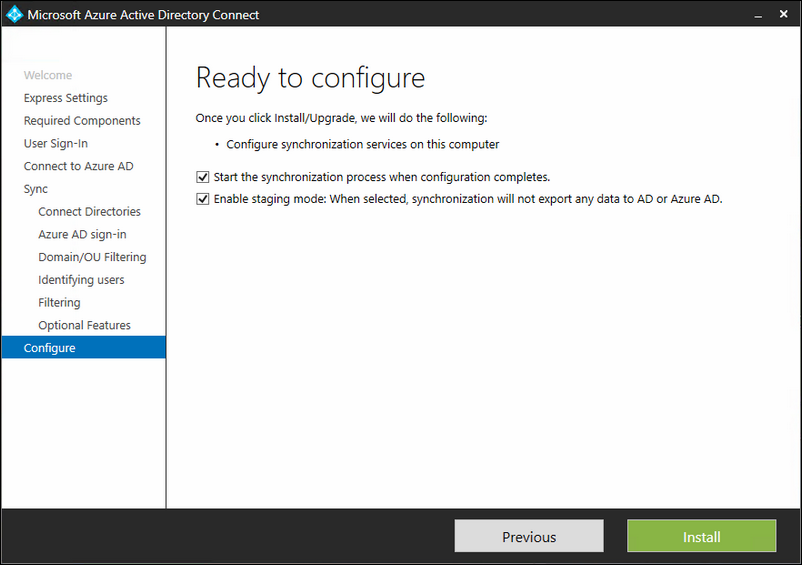
Now here it will become important what you are going to select.
For the primary AAD Connect server
Make sure that only the first box is check marked for the server that will be 'active'; this server will actively sync to Azure AD. The second box must be unchecked!
For the secondary 'staged' AAD Connect server
The second server will be the 'staged' server; so this server must have both boxes check marked.
When done, click Install.
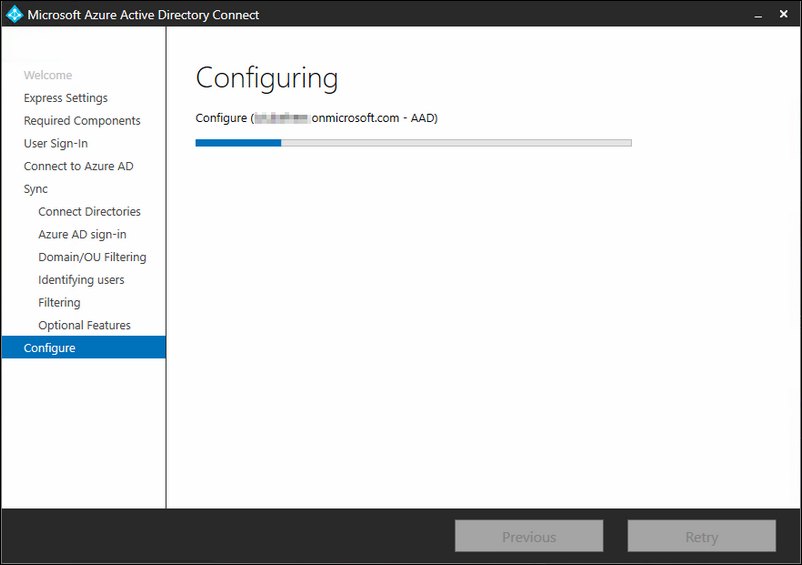
The setup will do its magic now, hang on; just get a cup of coffee and lean back for a moment.
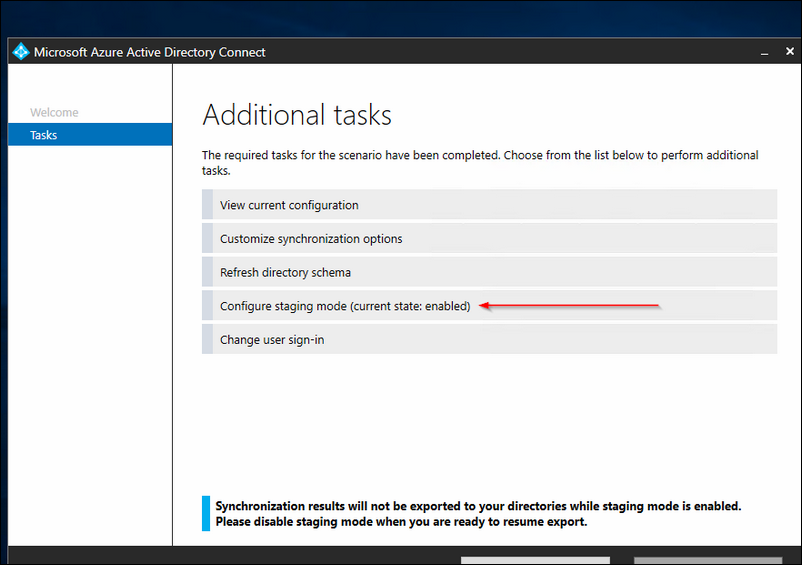
On your 'staged' server, the wizard will show the following remark
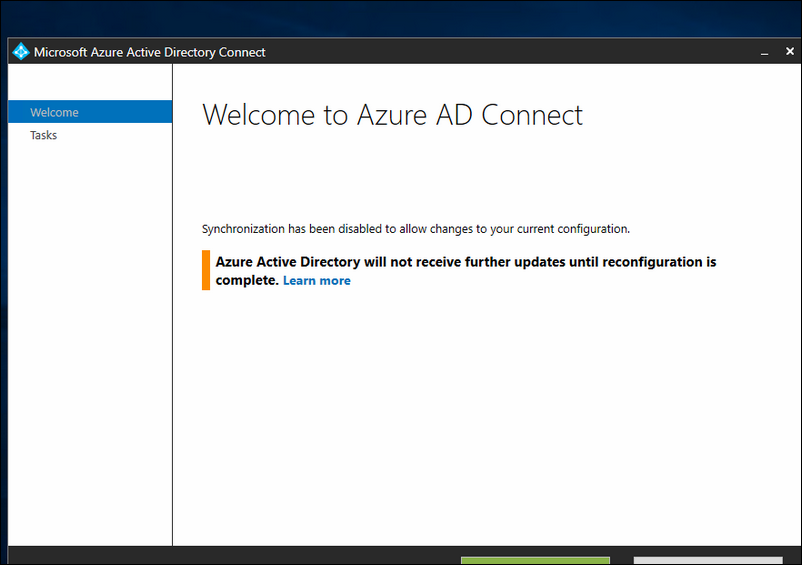
You can see here that the server is currently 'staged'. That means it will sync with your On Premise Active Directory, but it will not sync those changes to Azure AD.
How can I check if Azure AD Connect is working ?
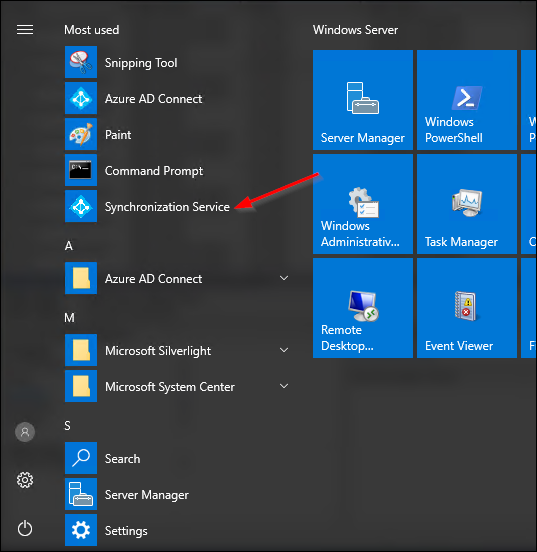
Start the Synchronization Service on one of your servers where it is installed.
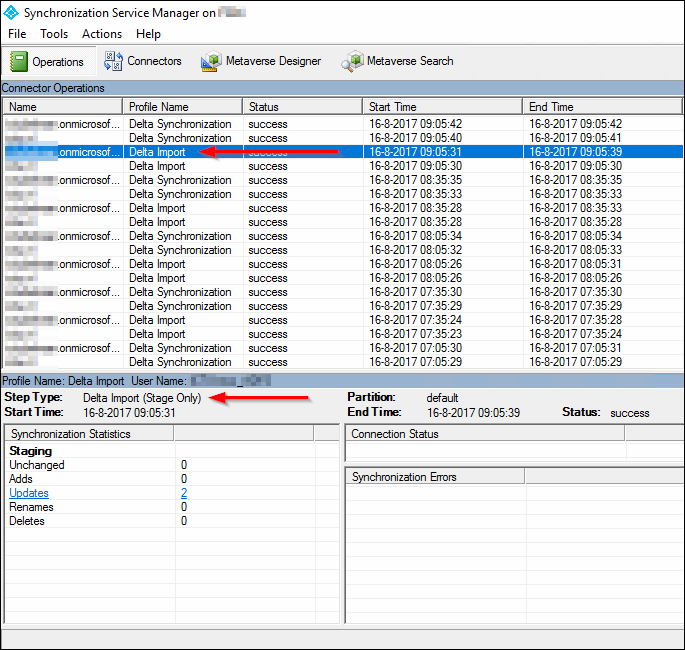
On your server that is 'staged', you can see that there are only two profiles running; Delta Synchronisation and Delta Import.
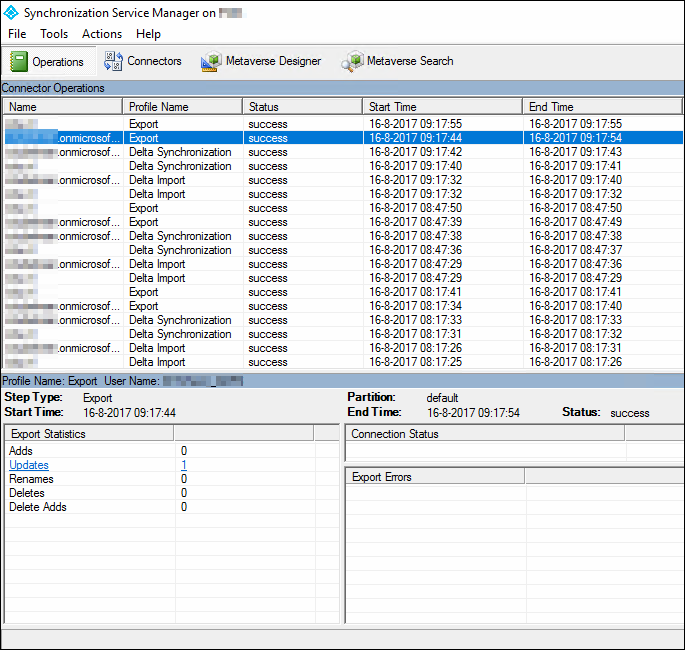
If you check the active server, here you can see that, besides the Delta Synchronisation and Delta Import, also an Export job is running. That tells you that this server is actually syncing to Azure AD.
If you click on the Export job (see figure 19) you can see which updates have been made in Azure AD.
So that's it, you're done now, be sure to check on a regular basis if there is a update of Azure AD Connect available here and install the update on both servers; the primary and staged.
Thank you for reading and be sure that you check my other posts.
